DELTARUNE PROPHECY MAKER · GUIDES & HELP
How to Make a Custom Prophecy Panel
This walkthrough uses an original lantern illustration and the message “A LIGHT REMAINS”. Start with one clear subject, prepare its mask, then add text and export. No account is needed.
1. Pick one shape that stays readable when small
A prophecy panel is easier to read when the image has a distinct outline. For this example, the lantern has a handle, a bright window and a broad base. The narrow gray line underneath is deliberately less prominent. It helps demonstrate why small details may disappear during conversion.

Choose an image you own or have permission to use. Leave space around the subject instead of cropping right against its edge. For a photograph, a busy background will compete with the subject after conversion. Simplifying the source often works better than repeatedly moving the threshold slider. The tool does not automatically identify a person or separate them from a background.
2. Convert the image into a useful mask
Open the monochrome converter and select the source PNG. A threshold turns brightness into black or white. In the prophecy effect, the white regions provide the visible shape. Your goal is a readable silhouette, not a realistic grayscale photograph.


For the whole lantern silhouette, start at 80. The background stays dark while the frame joins the window. At 127 the frame disappears and the handle, window and base become separate shapes. At 200 even the handle and base disappear. A higher value is not automatically a better result: it simply demands a brighter source pixel.
If your subject is dark on white, try Invert Colors. Check the whole image after inverting; a white rectangular background can dominate the final effect. Export the converted PNG, then upload that file to the Prophecy Maker. Keep the source as well, so you can return to it if a later adjustment loses detail.
3. Add text and balance the composition
Enter “A LIGHT REMAINS” in the text box and select Default. Start with Scale Factor at 1.00× and Vertical Position at 0 px. These are starting settings for comparison, not universal settings for every uploaded image. Watch the handle and base: if either clips at the edge, reduce scale before moving the image vertically.
Keep the first message short. To test two lines, enter A LIGHT\nREMAINS using the literal backslash and n. Compare it with the single-line version before adding more words. More text can add height above the panel, so the exported image is not guaranteed to be a fixed 512×256 rectangle.
Change one thing at a time. If you change scale, position, font and texture together, it becomes hard to tell why a result improved. Save a PNG after finding a useful layout. You can then compare another version without relying on memory or losing your first composition.
4. Compare the same artwork across styles
Default, Susie’s Dark World and The Final Prophecy change the textures and effects around your mask. Hold the image and text constant while comparing them. This shows what the style contributes rather than confusing a different composition with a different effect.
The Final style adds a changing red pulse. A still export captures one moment, while a GIF retains motion. The animation guide includes playable exports and explains the limits of the short loop. These effects do not draw extra character poses or create a multi-scene movie.
5. Choose PNG or GIF for the destination
Use PNG when you need a still image for a post or thumbnail. Use GIF when the motion itself matters. Keep the editor open until export finishes. After downloading, open the actual file, rather than judging only the thumbnail in a file picker or messaging app.
Some apps show an animated file as a still preview or convert it when shared. First open the downloaded GIF in a browser that supports animation. If it moves there, compare how the destination handles GIF files. The maker does not export MP4 or include audio; use a separate editor if the destination requires video.
Reference export from this walkthrough
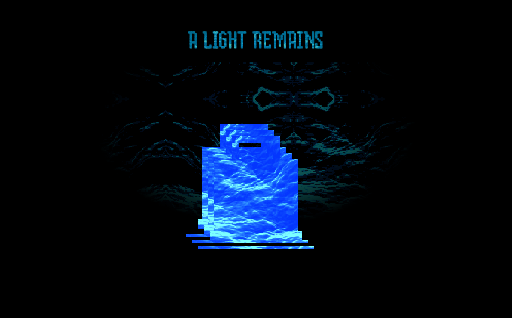
Play the actual lantern GIF export
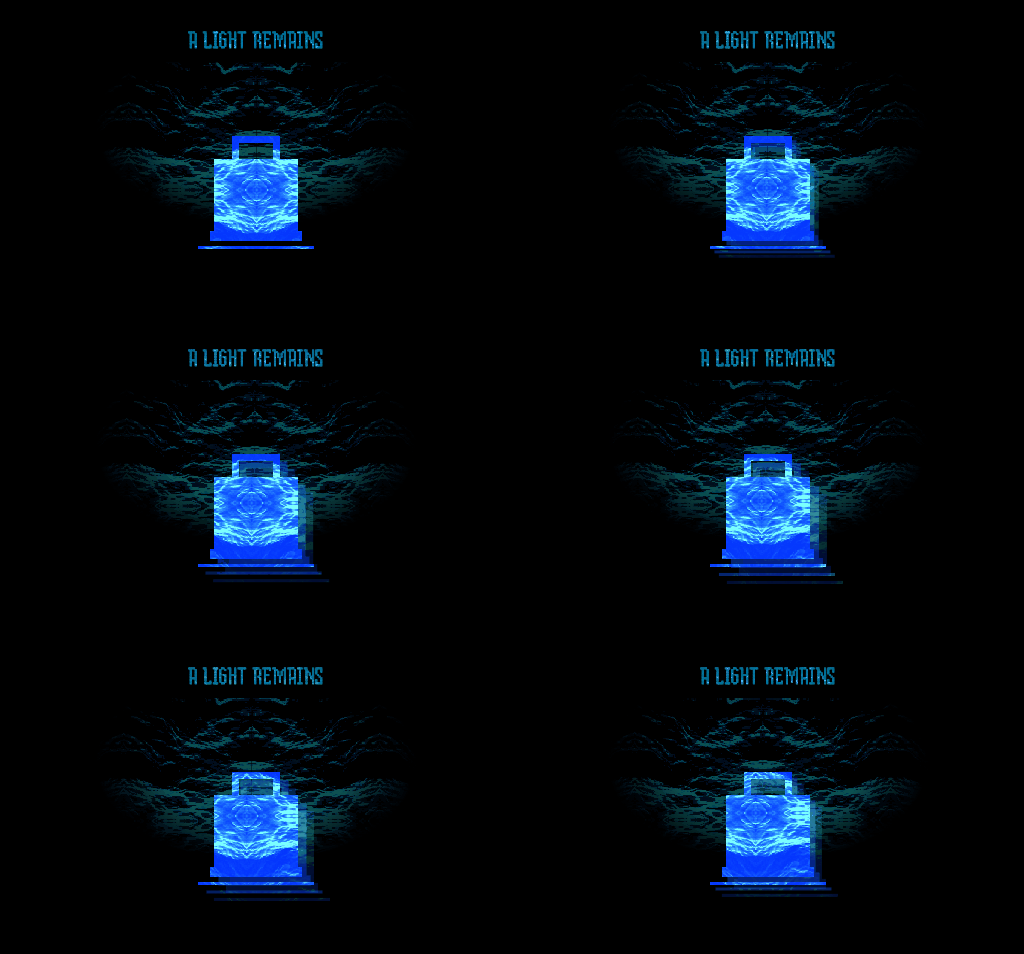
The GIF from this composition is about 735 KB. This is one measured result, not a promised file size for every image. Download the reference PNG or download the reference GIF to compare the formats.
When the result does not match the preview
- The subject is missing: return to the mask and check that the subject is white, then reset scale and position.
- A large block fills the panel: inspect the background of the converted file. Try inversion or simplify the source.
- Thin details vanish: lower the threshold or thicken those details in your own source artwork.
- Custom assets cause export errors: compare with the default font and textures before reintroducing each custom asset.
The lantern is a teaching example, not a game asset. You can reuse it to practice this workflow. For another task, build a vessel and transfer its image, or choose an editable preset. If a reproducible issue remains, send the page and steps without private source files.